
Wrapping and Presenting Your Hamper
Creative presentation ideas that make your gift stand out. Simple techniques for professional-looking results at home.
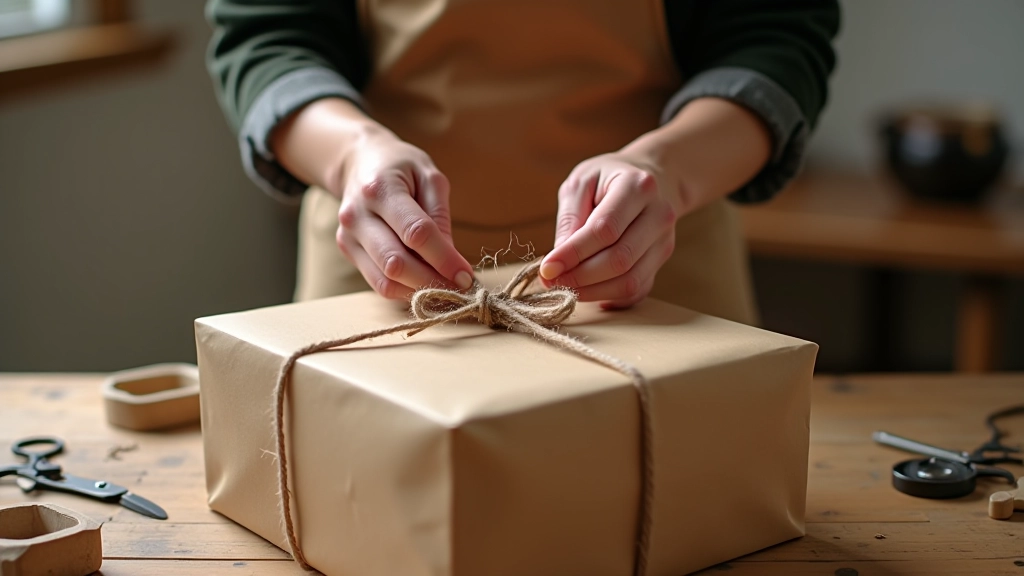
There's something magical about opening a beautifully wrapped gift. The presentation sets the tone before anyone even sees what's inside. When you're giving a hamper — packed with quality artisan food from local makers — wrapping it thoughtfully shows you care about every detail.
The good news? You don't need special training or expensive materials. With a few basic techniques and the right supplies, you'll create something that looks like it came from a professional gift service. We'll walk you through it step by step.
Choosing Your Wrapping Materials
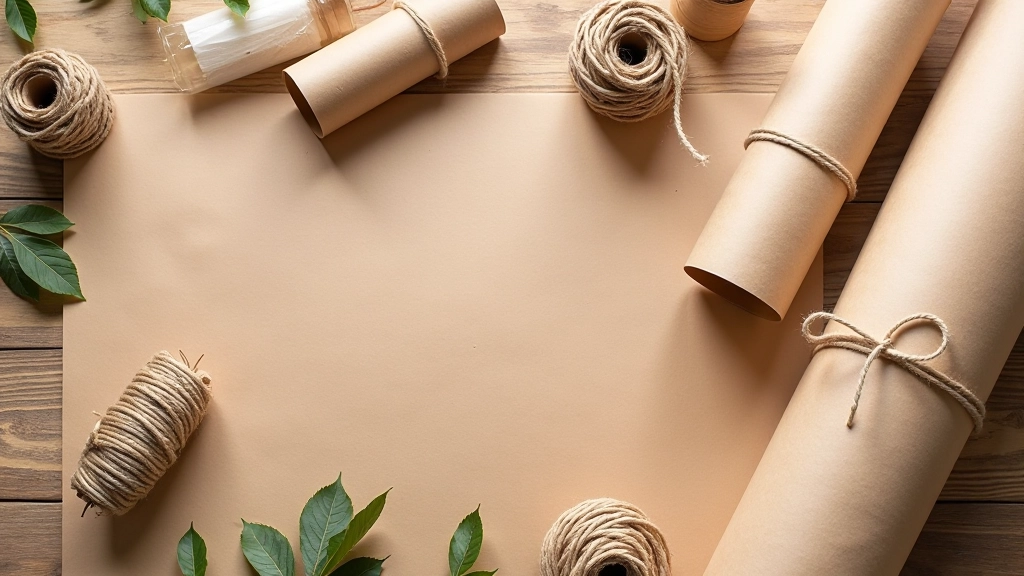
The right materials make wrapping easier and make your hamper look intentional. You've got options here — kraft paper works beautifully with natural twine, but tissue paper in complementary colours gives a softer feel.
Kraft Paper
Durable and elegant. Pairs well with jute twine or ribbon. Hides creases better than tissue paper.
Tissue Paper
Lighter weight, more delicate look. Use multiple layers for strength. Works with silk ribbon or raffia.
Cellophane
Lets you show off the contents. Secure with decorative stickers or washi tape at the seams.
The Basic Wrapping Technique
Start simple. You don't need perfect angles or museum-quality folds. Hampers are irregular shapes, so embrace that.
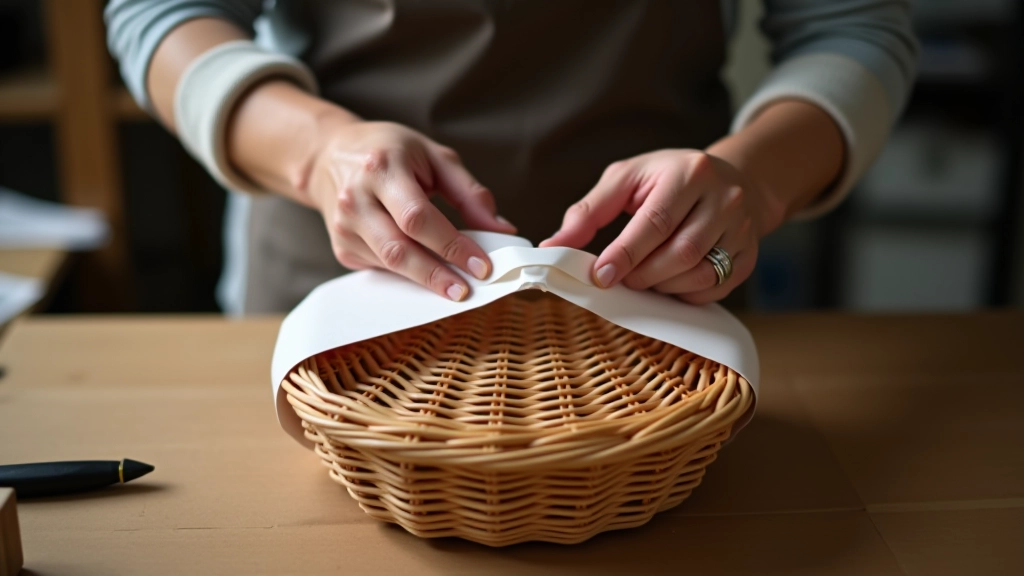
- 1 Measure your paper. Wrap it around the widest part of the hamper — it should overlap slightly. Too much paper creates bulk at the seams.
- 2 Tape one long edge down the side. Use double-sided tape if you want invisible seams, or regular tape for a quicker finish.
- 3 Fold the ends. Crease the paper along the hamper's edge, fold triangular flaps, and secure with tape.
- 4 Add your ribbon or twine. Wrap it around both directions — side to side and front to back — and tie at the top.
The whole process takes 10–15 minutes once you've done it once. Don't overthink it.
Finishing Touches That Elevate Your Presentation
The wrapping's done, but this is where personality comes in. A thoughtful tag or bow transforms a wrapped hamper into a gift someone remembers.
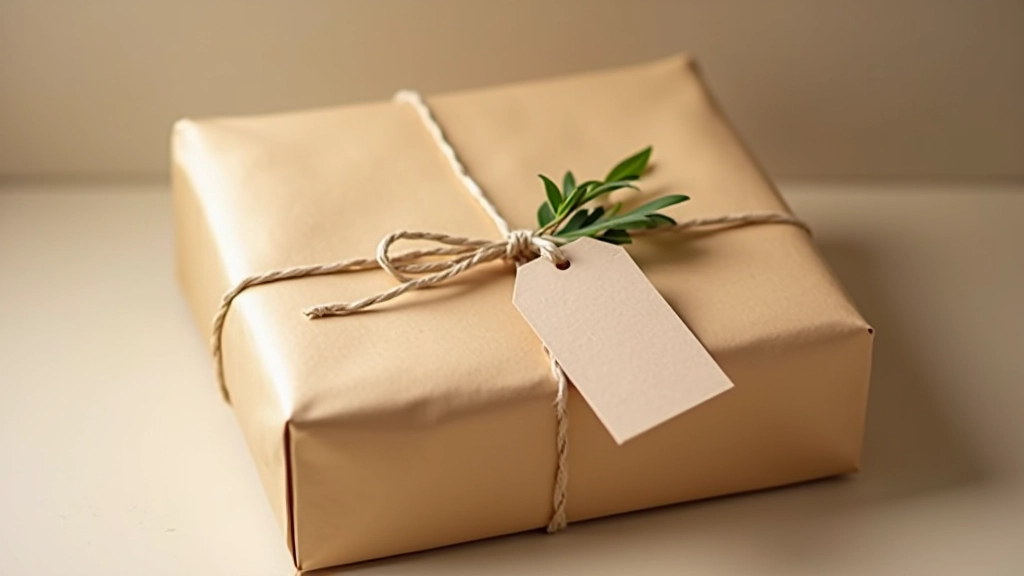
Handwrite a gift tag. Even messy handwriting looks better than printed labels — it shows effort. Add a small sprig of dried herbs, a cinnamon stick, or eucalyptus tucked into the ribbon. If the hamper's from a local producer, include a small card mentioning the maker. People love knowing the story behind what they're receiving.
For a bow, you can buy pre-made ones, but tying your own ribbon into a simple bow takes the same time and looks more intentional. Loop the ribbon twice, pull tight, and adjust the loops until they're even. It doesn't need to be perfect — slightly imperfect actually looks more handmade and genuine.
Presentation Ideas for Different Occasions
Context matters. A corporate thank-you hamper looks different from a birthday gift, and that's fine. Adjust your approach to match the occasion.
Corporate or Professional
Stick with neutral colours — cream, brown, or deep navy. Minimal decoration. A simple kraft wrap with a quality ribbon and a printed business card looks polished.
Personal or Celebratory
Here you can be bolder. Brighter tissue paper, coloured ribbon, more decorative elements. Add confetti or dried flowers to the wrap.
Seasonal or Holiday
Use seasonal colours and materials. Gold or silver ribbon for winter, pastels for spring, warm tones for autumn. Dried orange slices or cinnamon sticks feel seasonal without looking forced.
Protecting Your Wrapped Hamper
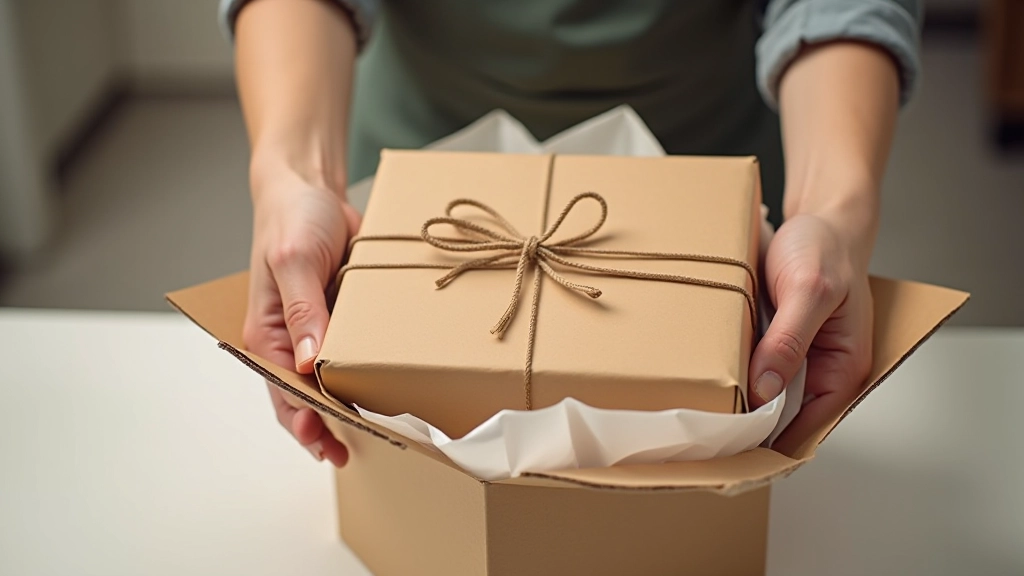
If you're giving this gift in person, the wrapping's your final presentation. But if it's being delivered — whether same-day across Dublin or to someone in Cork — protection matters.
Place your wrapped hamper in a sturdy box with cushioning tissue or crinkle paper around it. This keeps the wrapping intact and the contents from shifting during transit. Use tape on the box seams, not the wrapping itself.
If you're hand-delivering, keep the hamper in a cool spot until you give it. Chocolate and soft cheeses don't appreciate being in a warm car for hours.
About This Guide
This guide is informational and shares practical techniques for wrapping gift hampers at home. Results depend on your materials, hamper size, and personal preference. We've provided general guidance based on common wrapping approaches — what works best for you might vary based on the specific hamper you're presenting.
Quantaxis Editorial Team
Editorial Team
Written by the quantaxis editorial team, focused on honest, practical guidance about handcrafted gifts and artisan food delivery.
Related Articles
How to Choose the Perfect Gift Hamper
Tips for selecting hampers based on taste preferences, dietary needs, and occasi...
Wicklow's Best Artisan Food Producers
Discover local makers creating exceptional cheeses, preserves, and specialty foo...

Same-Day Delivery Across Ireland
How our fast delivery service works. Order in the morning, gift arrives the same...